Exploring Alternative Emulators for React Native Development
January 20, 2024
1 min

The navigation component takes two main props which help you customize your navigation. Tab Bar Options is the default prop from React Navigation which you can use to specify different tint colors and more (see available options below). for all the details. The second prop is appearance. Here you’ll be able to adjust several properties of the tab bar as you wish. See the available properties above.
tabBarOptions
This does't required any special installation of dependacies
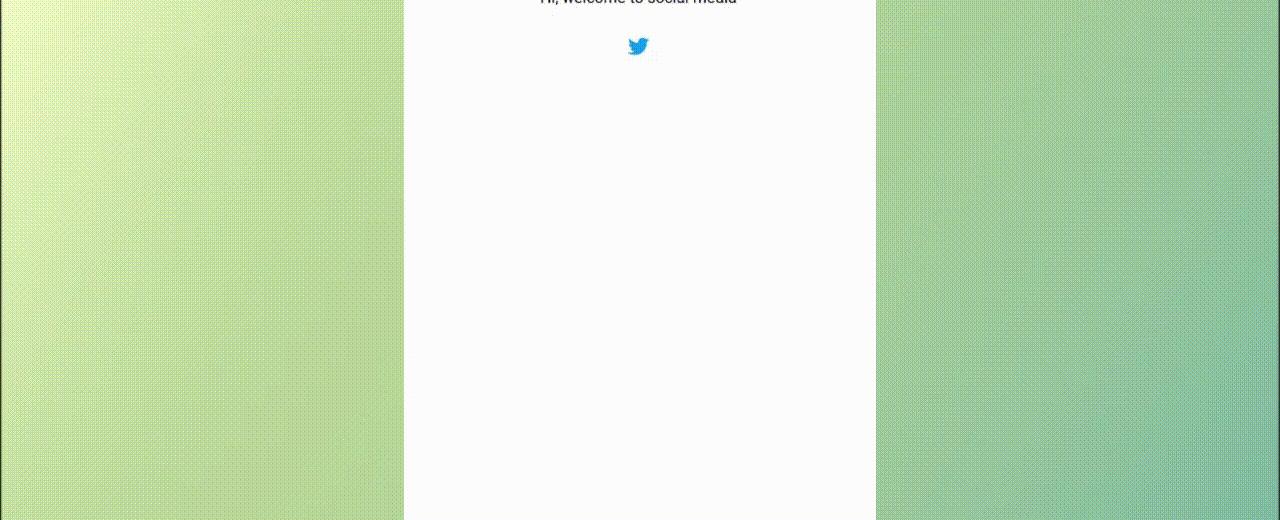
import React from "react";import {View,Text,TouchableOpacity,Animated,ScrollView,Image,Dimensions} from "react-native";const { width } = Dimensions.get("window");export default class App extends React.Component {state = {active: 0,xTabOne: 0,xTabTwo: 0,translateX: new Animated.Value(0),translateXTabOne: new Animated.Value(0),translateXTabTwo: new Animated.Value(width),translateY: -1000};handleSlide = type => {let {active,xTabOne,xTabTwo,translateX,translateXTabOne,translateXTabTwo} = this.state;Animated.spring(translateX, {toValue: type,duration: 100}).start();if (active === 0) {Animated.parallel([Animated.spring(translateXTabOne, {toValue: 0,duration: 100}).start(),Animated.spring(translateXTabTwo, {toValue: width,duration: 100}).start()]);} else {Animated.parallel([Animated.spring(translateXTabOne, {toValue: -width,duration: 100}).start(),Animated.spring(translateXTabTwo, {toValue: 0,duration: 100}).start()]);}};render() {let {xTabOne,xTabTwo,translateX,active,translateXTabOne,translateXTabTwo,translateY} = this.state;return (<View style={{ flex: 1 }}><Viewstyle={{width: "90%",marginLeft: "auto",marginRight: "auto"}}><Viewstyle={{flexDirection: "row",marginTop: 40,marginBottom: 20,height: 36,position: "relative"}}><Animated.Viewstyle={{position: "absolute",width: "50%",height: "100%",top: 0,left: 0,backgroundColor: "#007aff",borderRadius: 4,transform: [{translateX}]}}/><TouchableOpacitystyle={{flex: 1,justifyContent: "center",alignItems: "center",borderWidth: 1,borderColor: "#007aff",borderRadius: 4,borderRightWidth: 0,borderTopRightRadius: 0,borderBottomRightRadius: 0}}onLayout={event =>this.setState({xTabOne: event.nativeEvent.layout.x})}onPress={() =>this.setState({ active: 0 }, () =>this.handleSlide(xTabOne))}><Textstyle={{color: active === 0 ? "#fff" : "#007aff"}}>Tab One</Text></TouchableOpacity><TouchableOpacitystyle={{flex: 1,justifyContent: "center",alignItems: "center",borderWidth: 1,borderColor: "#007aff",borderRadius: 4,borderLeftWidth: 0,borderTopLeftRadius: 0,borderBottomLeftRadius: 0}}onLayout={event =>this.setState({xTabTwo: event.nativeEvent.layout.x})}onPress={() =>this.setState({ active: 1 }, () =>this.handleSlide(xTabTwo))}><Textstyle={{color: active === 1 ? "#fff" : "#007aff"}}>Tab Two</Text></TouchableOpacity></View><ScrollView><Animated.Viewstyle={{justifyContent: "center",alignItems: "center",transform: [{translateX: translateXTabOne}]}}onLayout={event =>this.setState({translateY: event.nativeEvent.layout.height})}><Text>Hi, welcome to social media</Text><View style={{ marginTop: 20 }}><Imagesource={require("./assets/twitter.png")}style={{width: 30,height: 30,borderRadius: 15}}/></View></Animated.View><Animated.Viewstyle={{justifyContent: "center",alignItems: "center",transform: [{translateX: translateXTabTwo},{translateY: -translateY}]}}><Text>Hi, Think out of the box</Text><View style={{ marginTop: 20 }}><Imagesource={require("./assets/favicon.png")}style={{width: 30,height: 30,borderRadius: 15}}/></View></Animated.View></ScrollView></View></View>);}}
Coming Soon…


Quick Links
Legal Stuff