Login screen in react native with background video
Introduction
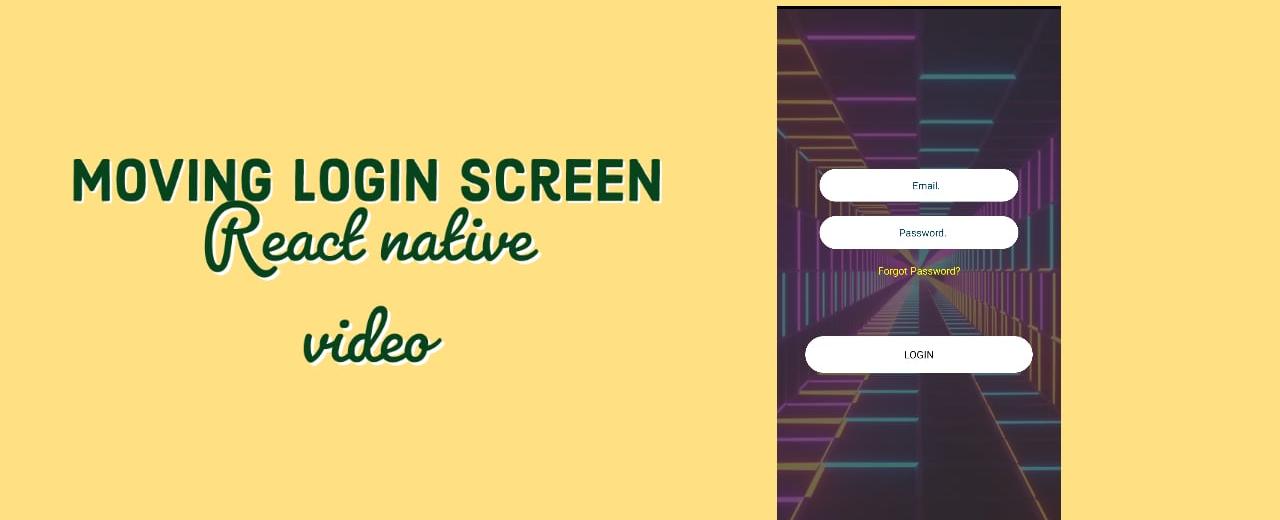
React native has proved that its an awesome framework to work with. Almost any project that has to do with mobile apps needs a typical login screen but what if we could make a login screen that has a video in the background. Wouldn’t that be cool? Lets see how we can do that within react native for both iOS and Android apps.
Installation
The installation for expo is pretty straight forward, you simply follow https://docs.expo.dev/get-started/installation/ and setup your workspace.
Start a new Project
For this tutorial, we will be using a linux box but since its mostly javascript that we will interact with, using a expo go app, you should be able to experiment on iOS as well.
- To start a new project simply use following command,
expo init login-screen-demo - If it asks for a template choose
blank - lets go inside that project
cd login-screen-demo - Before we continue to make changes we need to install one more expo library for adding audio video support.
expo install expo-av
Running Project
- run
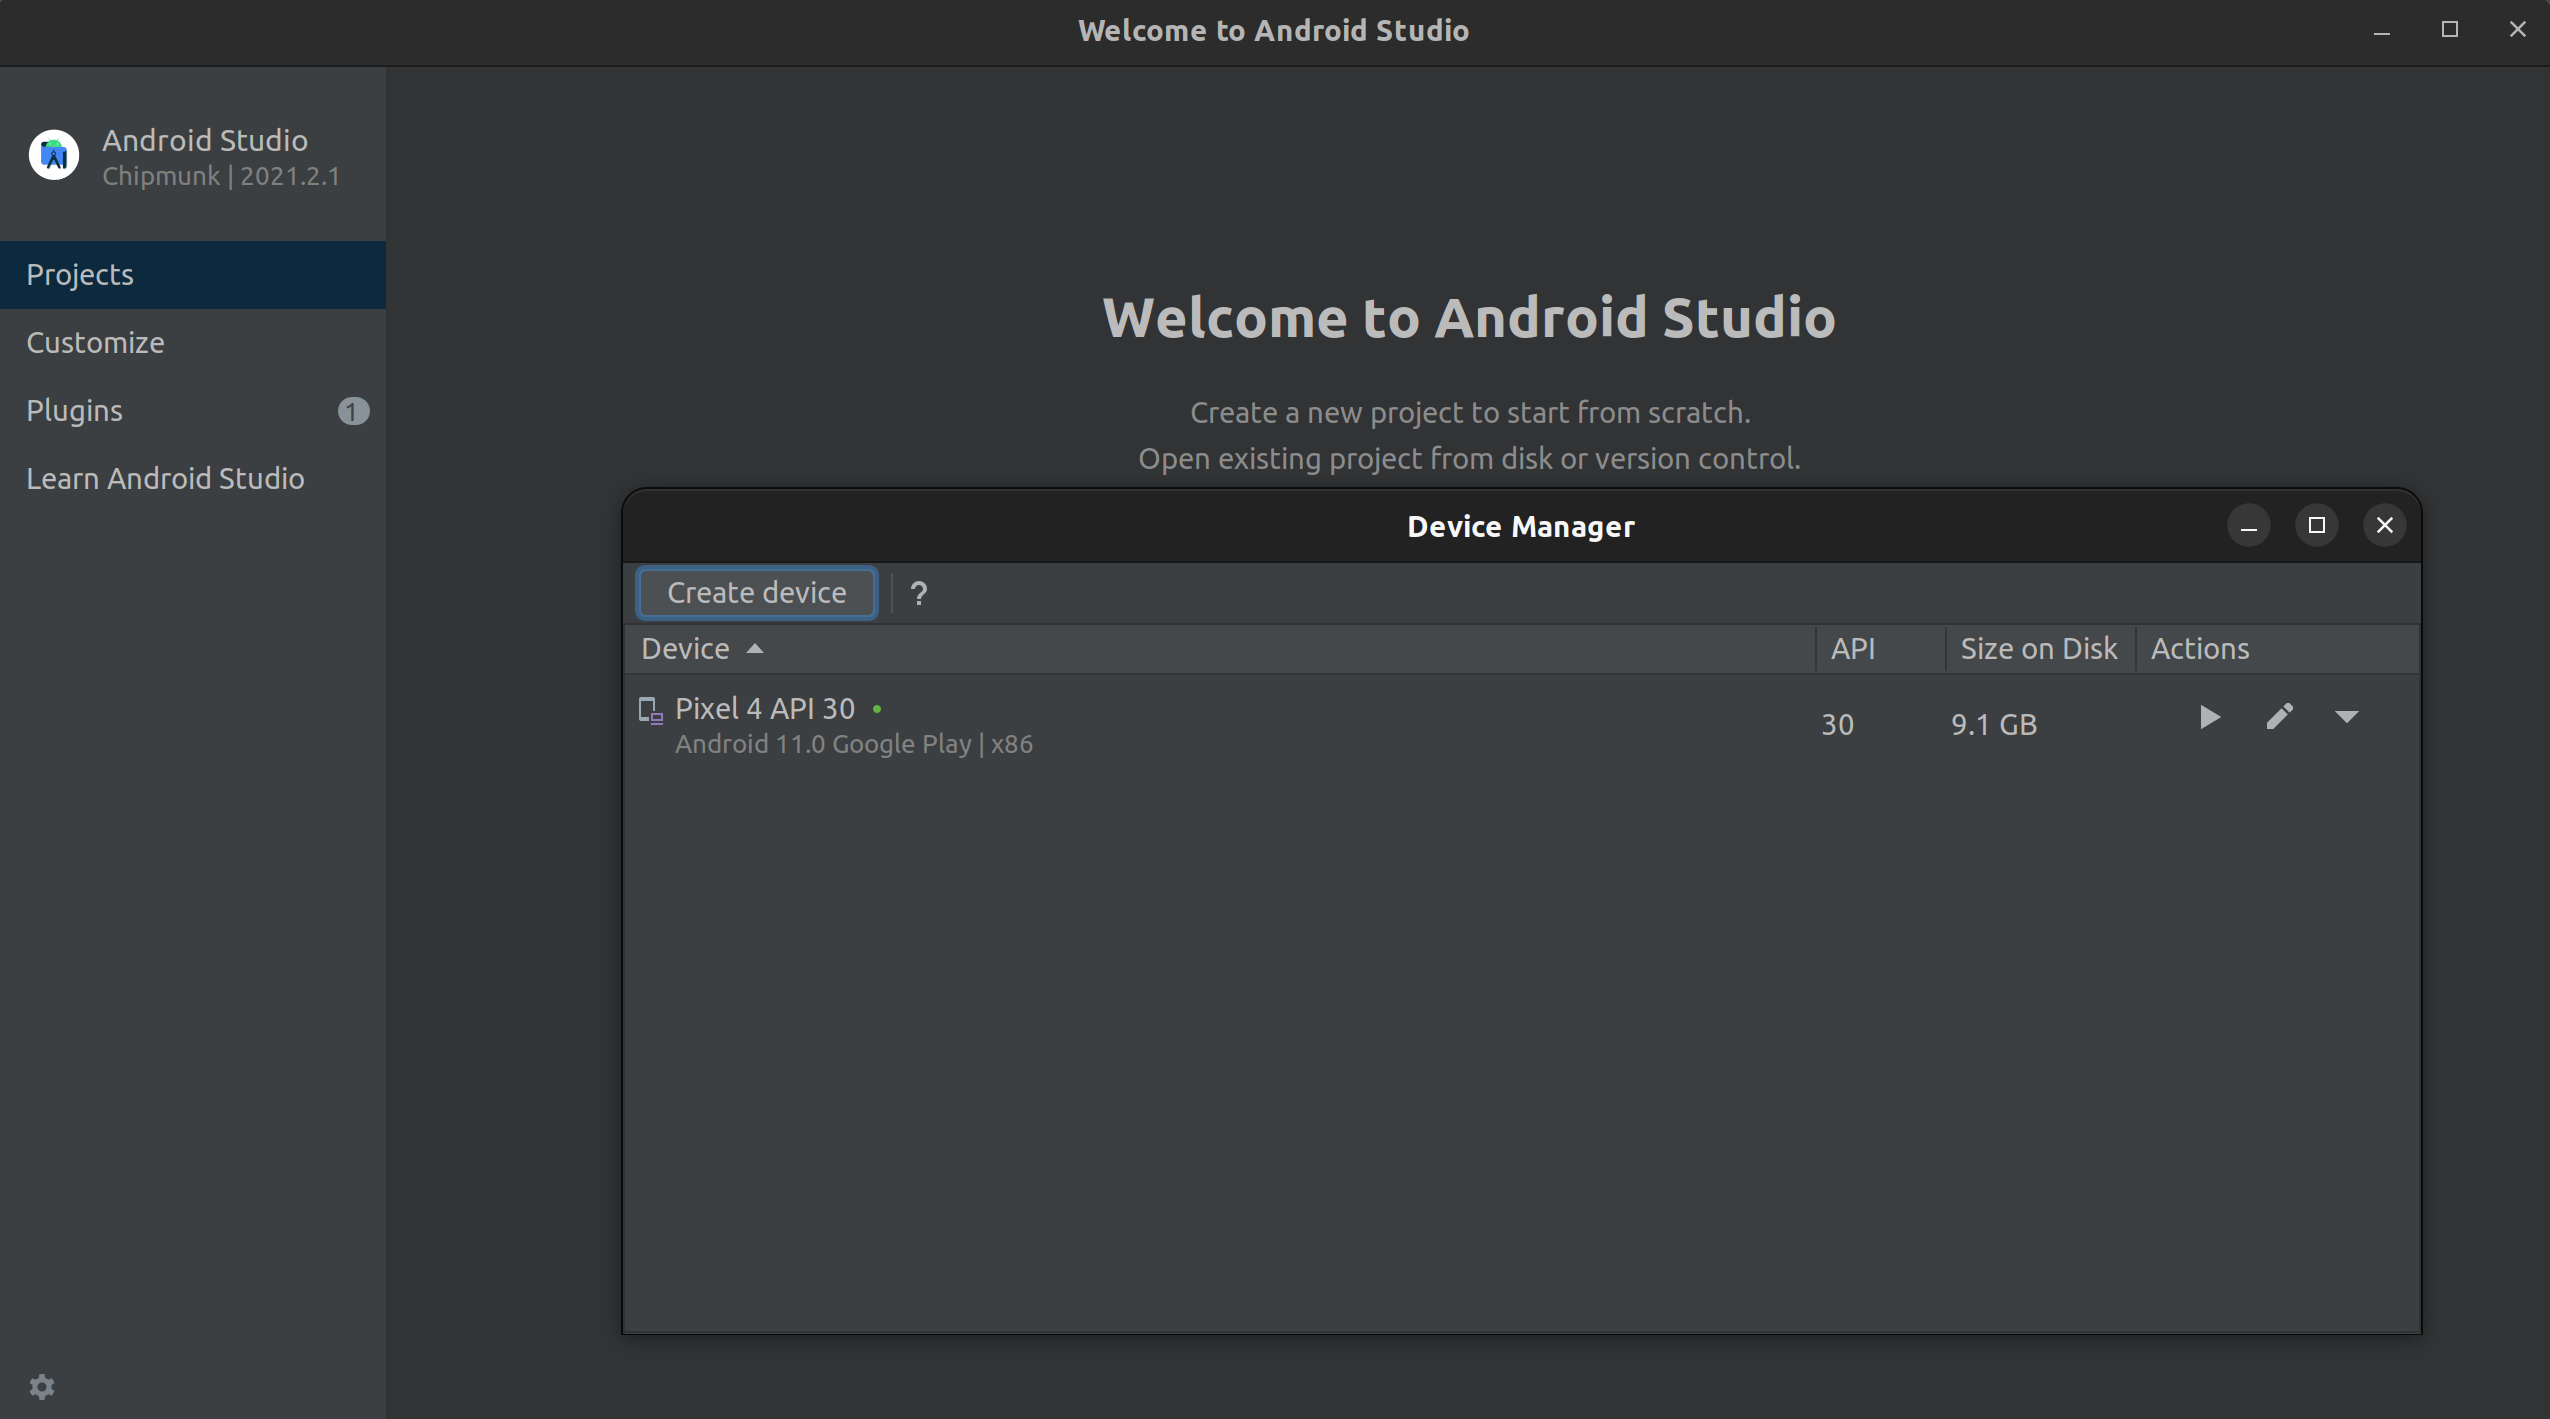
expo start| Note - the expo init CLI automatically installs all dependency and prepares node_modules - Start android emulator using Android Studio
- on terminal where we were runnning
expo start, pressato install and run app on emulator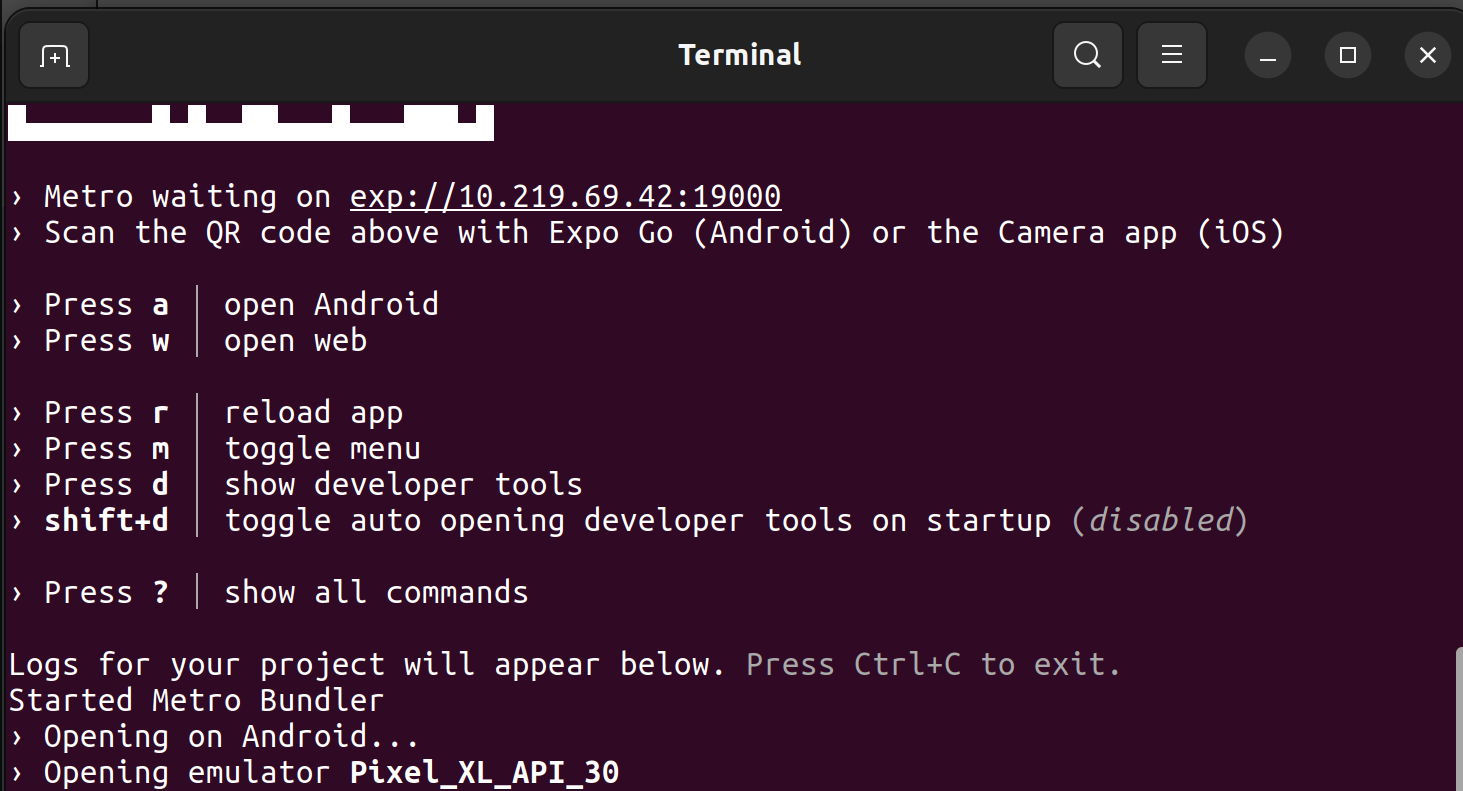
Make changes
Make changes in following files, you can use your favorite editor to do this.
App.js
import * as React from "react";import {StyleSheet,Text,View,StatusBar,TextInput,TouchableOpacity,} from "react-native";import { Video, AVPlaybackStatus } from "expo-av";export default function App() {const video = React.useRef(null);const [email, setEmail] = React.useState("");const [password, setPassword] = React.useState("");React.useEffect(() => {if (video) {video.current.playAsync();}}, [video]);return (<><View style={styles.container}><Videoref={video}style={styles.video}source={{uri: "https://res.cloudinary.com/dh6l45sly/video/upload/v1655354939/awereactnative/react-native-background-video/dywts2_jqjvu2.mp4",}}isLoopingresizeMode="cover"/></View><View style={styles.containerSub}><StatusBar style="auto" /><View style={styles.inputView}><TextInputstyle={styles.TextInput}placeholder="Email."placeholderTextColor="#003f5c"onChangeText={(email) => setEmail(email)}/></View><View style={styles.inputView}><TextInputstyle={styles.TextInput}placeholder="Password."placeholderTextColor="#003f5c"secureTextEntry={true}onChangeText={(password) => setPassword(password)}/></View><TouchableOpacity><Text style={styles.forgot_button}>Forgot Password?</Text></TouchableOpacity><TouchableOpacity style={styles.loginBtn}><Text style={styles.loginText}>LOGIN</Text></TouchableOpacity></View></>);}const styles = StyleSheet.create({container: {flex: 1,height: "100%",width: "100%",justifyContent: "center",resizeMode: "cover",position: "absolute",width: "100%",flexDirection: "column",},video: {alignSelf: "center",width: "100%",height: "100%",},buttons: {flexDirection: "row",justifyContent: "center",alignItems: "center",},containerSub: {flex: 1,backgroundColor: 'rgba(52, 52, 52, 0.7)',alignItems: "center",justifyContent: "center",},image: {marginBottom: 40,},inputView: {backgroundColor: "white",borderRadius: 30,width: "70%",height: 45,marginBottom: 20,alignItems: "center",},TextInput: {height: 50,flex: 1,padding: 10,marginLeft: 20,},forgot_button: {height: 30,marginBottom: 30,backgroundColor: 'rgba(52, 52, 52, 0.1)',textAlign: 'center',color: 'yellow'},loginBtn: {width: "80%",borderRadius: 25,height: 50,alignItems: "center",justifyContent: "center",marginTop: 40,backgroundColor: "white",},});
Reload project
Once we have updated the app.js file, simply go to terminal and press either a or r to reload the bundle so app can run the changes we made.
Preview
How to change video
I used one the free video from this site https://www.vecteezy.com/free-videos/background-loop?license-free=true There are plenty of other cool videos that you can download and use for free.
Share
Related Posts



Quick Links
Legal Stuff


