HomeOur TeamContact

Table with Accessories

By Utkarsh Lubal
Published in Tables
June 15, 2022
1 min read
Table with Accessories

Table Of Contents

01
Introduction
02
Installation
03
Example
04
Tutorial

Introduction

  • Look and feel of iOS TableView - because it is! (with group/plain tableview type, sections headers, etc)
  • Display long lists of data (like country list) with no performance loss
  • Built-in accessory types (checkmark or disclosure indicator)
  • Pull to refresh!
  • Automatic scroll to initial selected value during component initialization (autoFocus property)
  • Automatic item selection with “checkmark” with old item de-selection (optionally), see demo, useful to select country/state/etc.
  • Render Native Section Index Titles (sectionIndexTitlesEnabled property)
  • Native JSON support for datasource. If you need to display large dataset, generated Javascript will became very large and impact js loading time. To solve this problem the component could read JSON directly from app bundle without JS!
  • Filter JSON datasources using NSPredicate syntax. For example you could select states for given country only (check demo)
  • Create custom UITableView cells with flexible height using React Native syntax (TableView.Cell tag)
  • Use TableView as menu to navigate to other screens (check included demo, using react-navigation https://reactnavigation.org)
  • Native editing mode for table - move/delete option is supported by using attributes canMove, canEdit for items/sections

Installation

npm install react-native-tableview --save
yarn add react-native-tableview

Linking

react-native link react-native-tableview

Example


import React, {Component} from 'react';
import { Text, View, ScrollView,TextInput,StyleSheet, ActivityIndicator } from 'react-native';
import { Cell,Section, TableView } from 'react-native-tableview-simple';

export default class App extends Component{
  render() {
    return(
      <ScrollView contentContainerStyle={styles.conatiner}>
        <TableView >
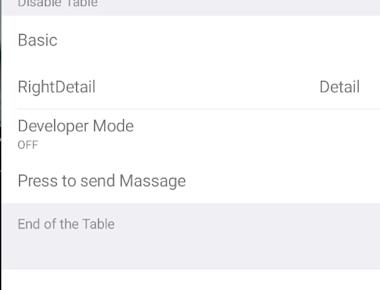
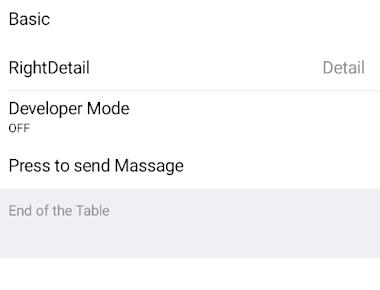
        <Section header="WITH ACCESSORY" >
            <Cell 
              cellStyle="Basic" 
              cellAccessoryView={<ActivityIndicator />}
              title="Basic" />
            <Cell 
              cellStyle="RightDetail" 
              title="RightDetail" 
              detail="Detail"
              accessory="DisclosureIndicator"
              />
            <Cell
              cellStyle="Subtitle"
              title="Developer Mode"
              accessory="Checkmark"
              detail="ON"
            />
            <Cell
              cellStyle="Basic"
              title="Press To Send Massege"
              accessory="DisclosureIndicator"
              onPress={() => console.log('Heyo from Accessory ')}
            />
            <Cell
              cellContentView={
                <TextInput
                  style={{ fontSize: 16, flex: 1 }}
                  placeholder="TextInput"
                />
              }
            />
          </Section>
        </TableView>
      </ScrollView>
    )
  }
}
const styles= StyleSheet.create({
  conatiner:{
    backgroundColor: '#EFEFF4',
    paddingTop:20,
    paddingBottom:20
  }
})

Tutorial


Previous Article
10 must have vscode extension for react native
Next Article
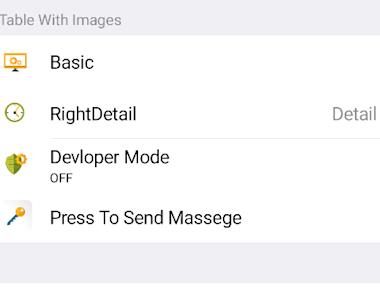
Table With Images
Utkarsh Lubal

Utkarsh Lubal

Full Stack Developer

Related Posts

Standard Table
Standard Table
June 15, 2022
1 min

Quick Links

Advertise with usAbout UsContact Us

Social Media