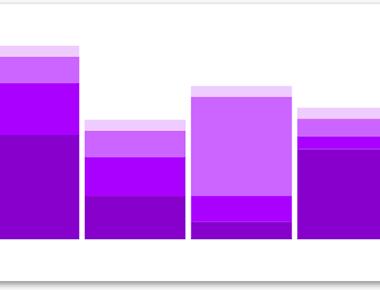
Stacked Bar Chart
June 13, 2022
1 min
expo init my-app && cd my-app
expo start
import React from 'react';
import { StyleSheet, Button, View, SafeAreaView, Text, Alert } from 'react-native';

const Separator = () => (
  <View style={styles.separator} />
);

const App = () => (
  <SafeAreaView style={styles.container}>
    <View>
      <Text style={styles.title}>
        The title and onPress handler are required. It is recommended to set accessibilityLabel to help make your app usable by everyone.
      </Text>
      <Button
        title="Press me"
        onPress={() => Alert.alert('Simple Button pressed')}
      />
    </View>
    <Separator />
    <View>
      <Text style={styles.title}>
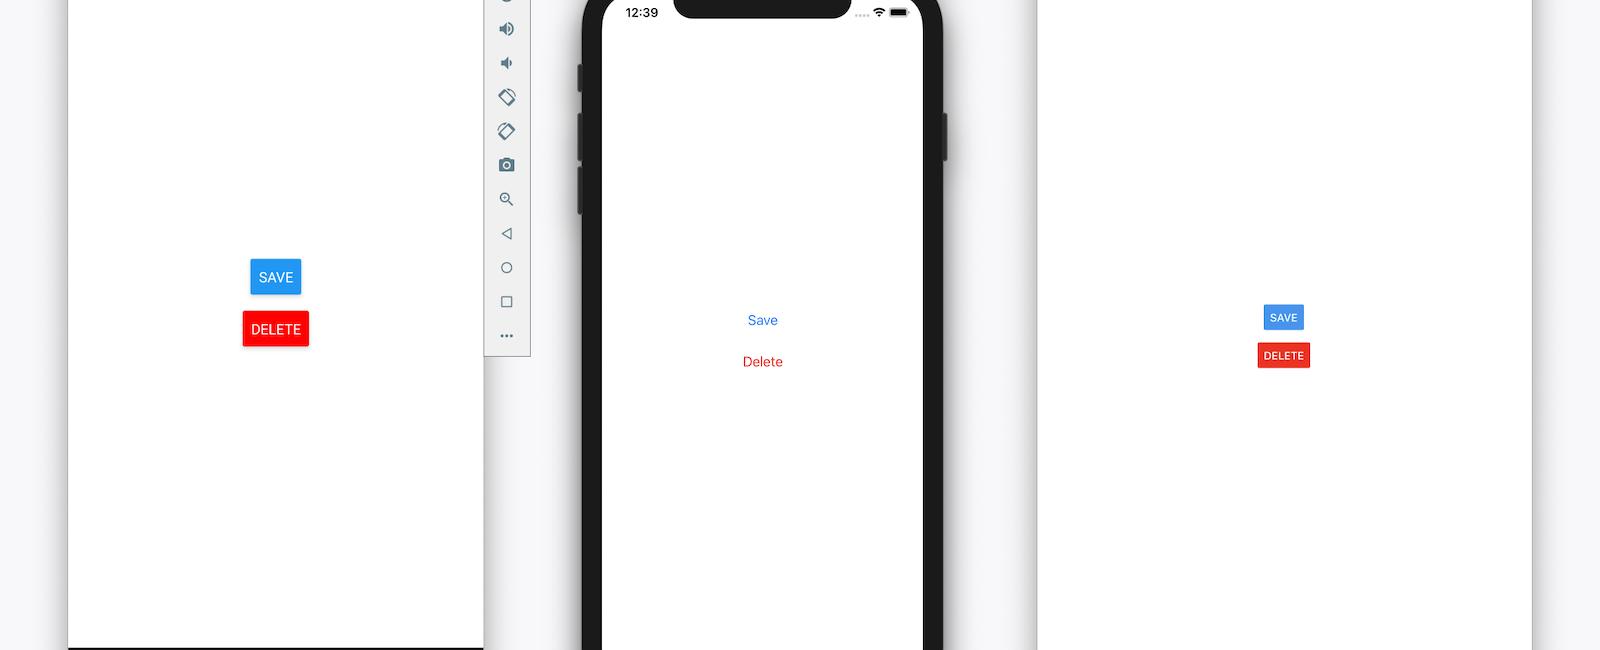
        Adjust the color in a way that looks standard on each platform. On  iOS, the color prop controls the color of the text. On Android, the color adjusts the background color of the button.
      </Text>
      <Button
        title="Press me"
        color="#f194ff"
        onPress={() => Alert.alert('Button with adjusted color pressed')}
      />
    </View>
    <Separator />
    <View>
      <Text style={styles.title}>
        All interaction for the component are disabled.
      </Text>
      <Button
        title="Press me"
        disabled
        onPress={() => Alert.alert('Cannot press this one')}
      />
    </View>
    <Separator />
    <View>
      <Text style={styles.title}>
        This layout strategy lets the title define the width of the button.
      </Text>
      <View style={styles.fixToText}>
        <Button
          title="Left button"
          onPress={() => Alert.alert('Left button pressed')}
        />
        <Button
          title="Right button"
          onPress={() => Alert.alert('Right button pressed')}
        />
      </View>
    </View>
  </SafeAreaView>
);

const styles = StyleSheet.create({
  container: {
    flex: 1,
    justifyContent: 'center',
    marginHorizontal: 16,
  },
  title: {
    textAlign: 'center',
    marginVertical: 8,
  },
  fixToText: {
    flexDirection: 'row',
    justifyContent: 'space-between',
  },
  separator: {
    marginVertical: 8,
    borderBottomColor: '#737373',
    borderBottomWidth: StyleSheet.hairlineWidth,
  },
});

export default App;
Quick Links
Legal Stuff
